

First steps to start using WinAutomation with UI flows
Table of contents:
On May 19th Microsoft announced they have acquired company Softomotive, the maker of the WinAutomation RPA tool (source: https://flow.microsoft.com/en-us/blog/microsoft-acquires-softomotive-to-expand-low-code-robotic-process-automation-capabilities-in-microsoft-power-automate/). Let me walk you through first steps so that you can start using it as well.
What is WinAutomation?
This is a desktop application, that comes with Firefox/ Edge Chromium/ Google Chrome browser’s extension. It brings a very wide set of actions and functionalities to automate processes based inside desktop and web apps, that cannot be integrated using any other method, eg. via web services or other interfaces.
WinAutomation is therefore another RPA tool, however thanks to the acquisition current Microsoft customers can use it to leverage their UI flows automation to a next, previously not achievable level.
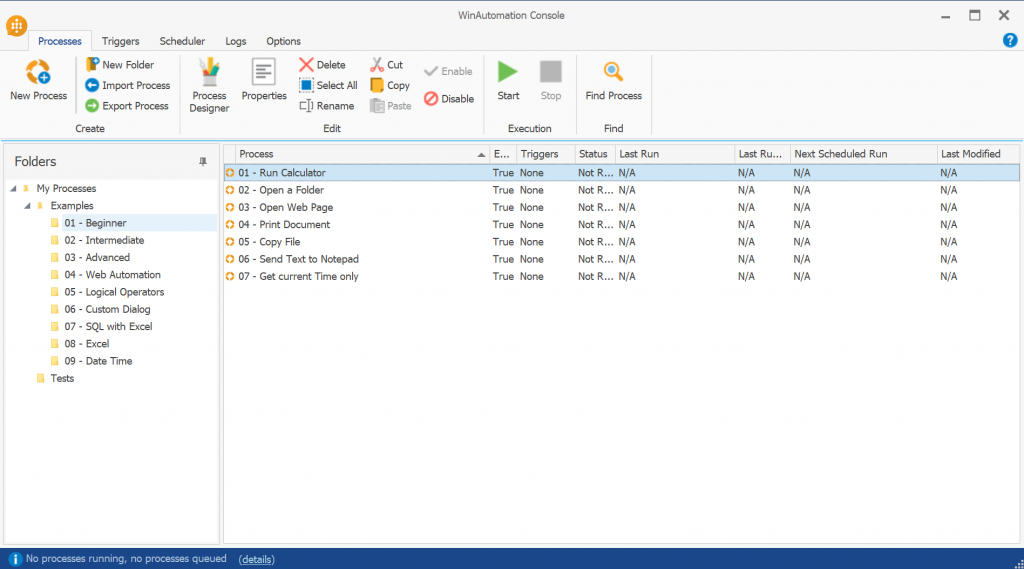
The tool is built from two applications: WinAutomation Console, where user can find list of all processes, grouped under folders, define triggers, scheduler, review logs and app settings. It is also a manager of the running processes’ instances.
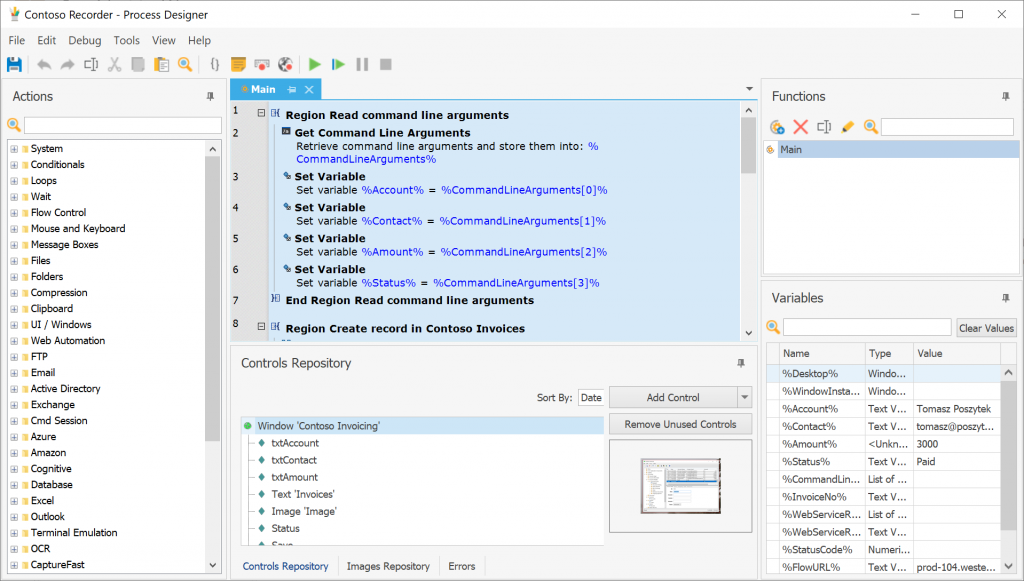
Second is WinAutomation Process Designer, so the tool where you can create and test your RPA automation process.
You can get more familiar with the tool itself and also see how to build a process in my latest video below:
Prerequisites
To start your first steps with WinAutomation, you need to have one from the below licenses (more: https://emea.flow.microsoft.com/en-us/pricing/):
- Trial “Per user plan with attended RPA”
- Paid “Per user plan with attended RPA”
If you don’t have one, you can apply for a trial plan.
Next go to: https://www.winautomation.com/download/, download the tool and install.
WinAutomation installation
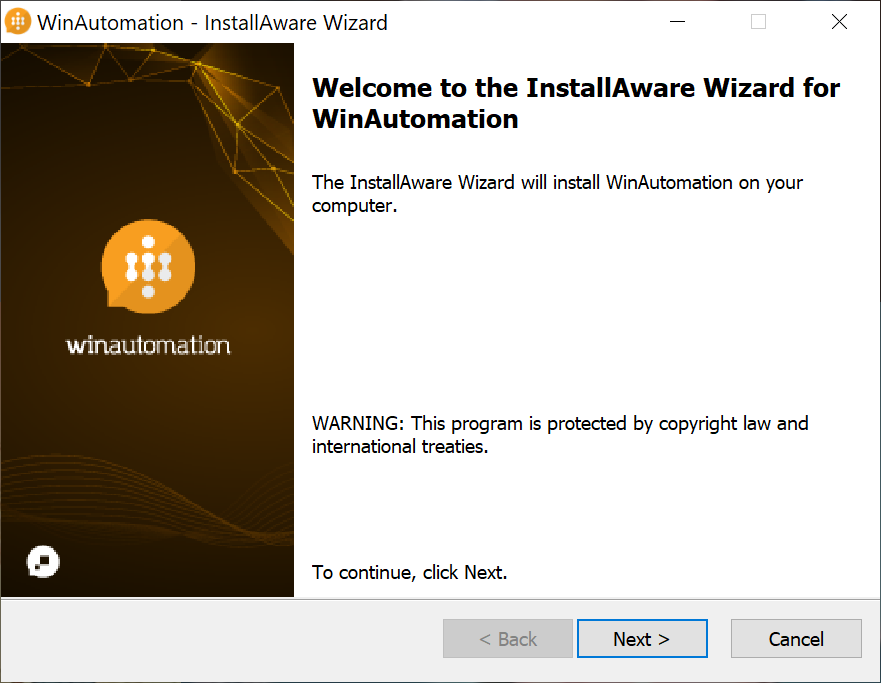
After you download installer file, open it and follow steps displayed by the wizard:
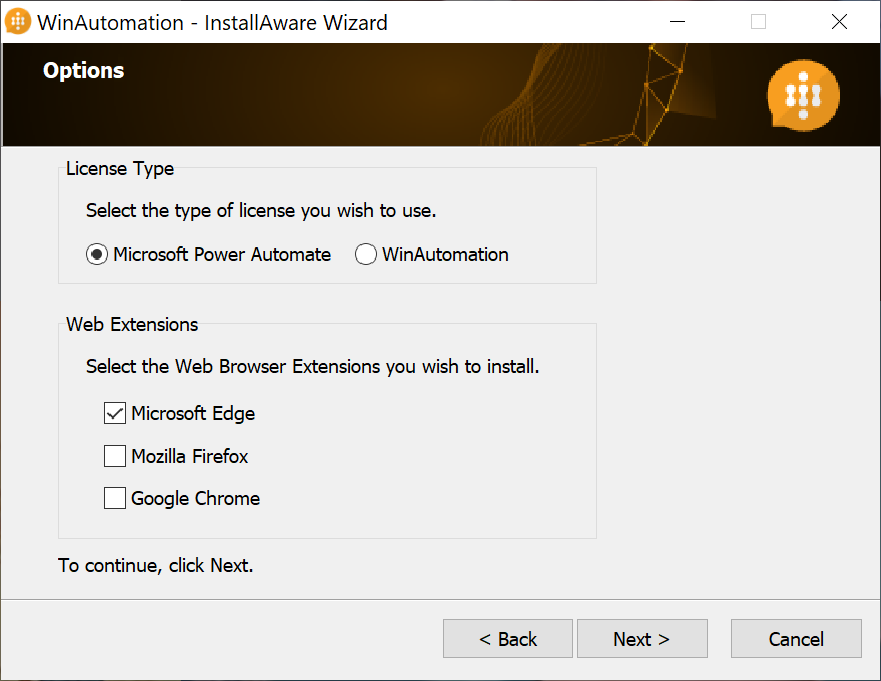
One of the steps is to select a proper license type you want to use to unlock WinAutomation. By default it is set to “Microsoft Power Automate”. Also, based on your choice, you can select to which browsers automation extension should be added:
After the installation, open WinAutomation Console. If you selected “Microsoft Power Automate” license app will display window to log in to your Microsoft Account.
Important! You will need your tenant administrator to grant consent to use your Power Automate Work or School account with WinAutomation.
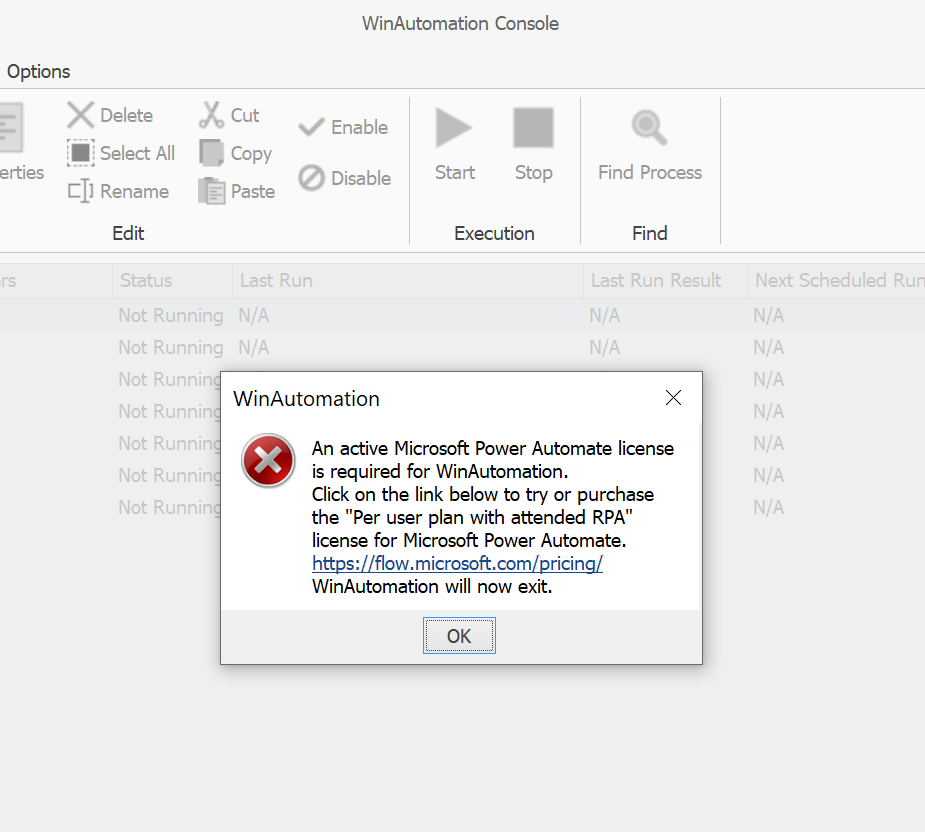
Once you log-in, but if you don’t have a valid plan assigned (or you were assigned short before the installation), you will see the below message:
Note! After being assigned a trial/ paid plan it takes around
30 minutes for the WinAutomation to acknowledge you have a valid license to use the tool.
Troubleshooting
If you’d like to change the Microsoft Account you’re using to log-in to WinAutomation, simply open the following path:
%localappdata%\Softomotive\WinAutomation\
And delete the file: msalcache.bin3. This will reset stored account data.
You can find more about WinAutomation intallation and troubleshooting in Microsoft Docs here: https://docs.microsoft.com/en-us/power-automate/ui-flows/create-processes.
I hope you find this article useful. If you have any questions, simply leave a comment below!


Sanjay patel
Winautomation Console installed and logged in, It’s grayed out unable to do anything.
Tomasz Poszytek
Have you chosen Power Automate license during installation? Have you logged in using your AAD account?
RONEI MARTON LIMA
Hi Tomasz,
I can´´´t setup a trial do activety Winautomation in my computer ?
When I´´´m starting the Winautomation the system requests a Master Key.
What king of license should I buy ? I would like just to use for study at this moment.
Tomasz Poszytek
The MasterKey is something you should define as you install the application. So that’s you who defines it.
For running WinAutomation you should have “Power Automate per user plan with attended RPA” and during installation you should’ve chosen Power Automate license instead of WinAutomation.
Bryant Grant
I’m glad my version is the last one before M$ acquisition… no need for all that you have above. Installed, entered my purchase key, works.
Tomasz Poszytek
Glad to hear it 🙂